
Have you ever been stuck in a hotel with a 2-device WiFi limit? Or tried to get your Chromecast onto a captive portal network?
I recently built a solution: a portable, dual-radio wireless bridge using a Raspberry Pi 3B. It grabs the public WiFi (like a coffee shop or hotel) and rebroadcasts it as a secure, private network for all my devices.
This isn’t just a simple repeater. It solves real-world problems like subnet conflicts, roaming between access points, and managing multiple profiles (Home vs. Work).
Here is exactly how I built it.
The Hardware Setup
You will need:
- Raspberry Pi 3B (The brain).
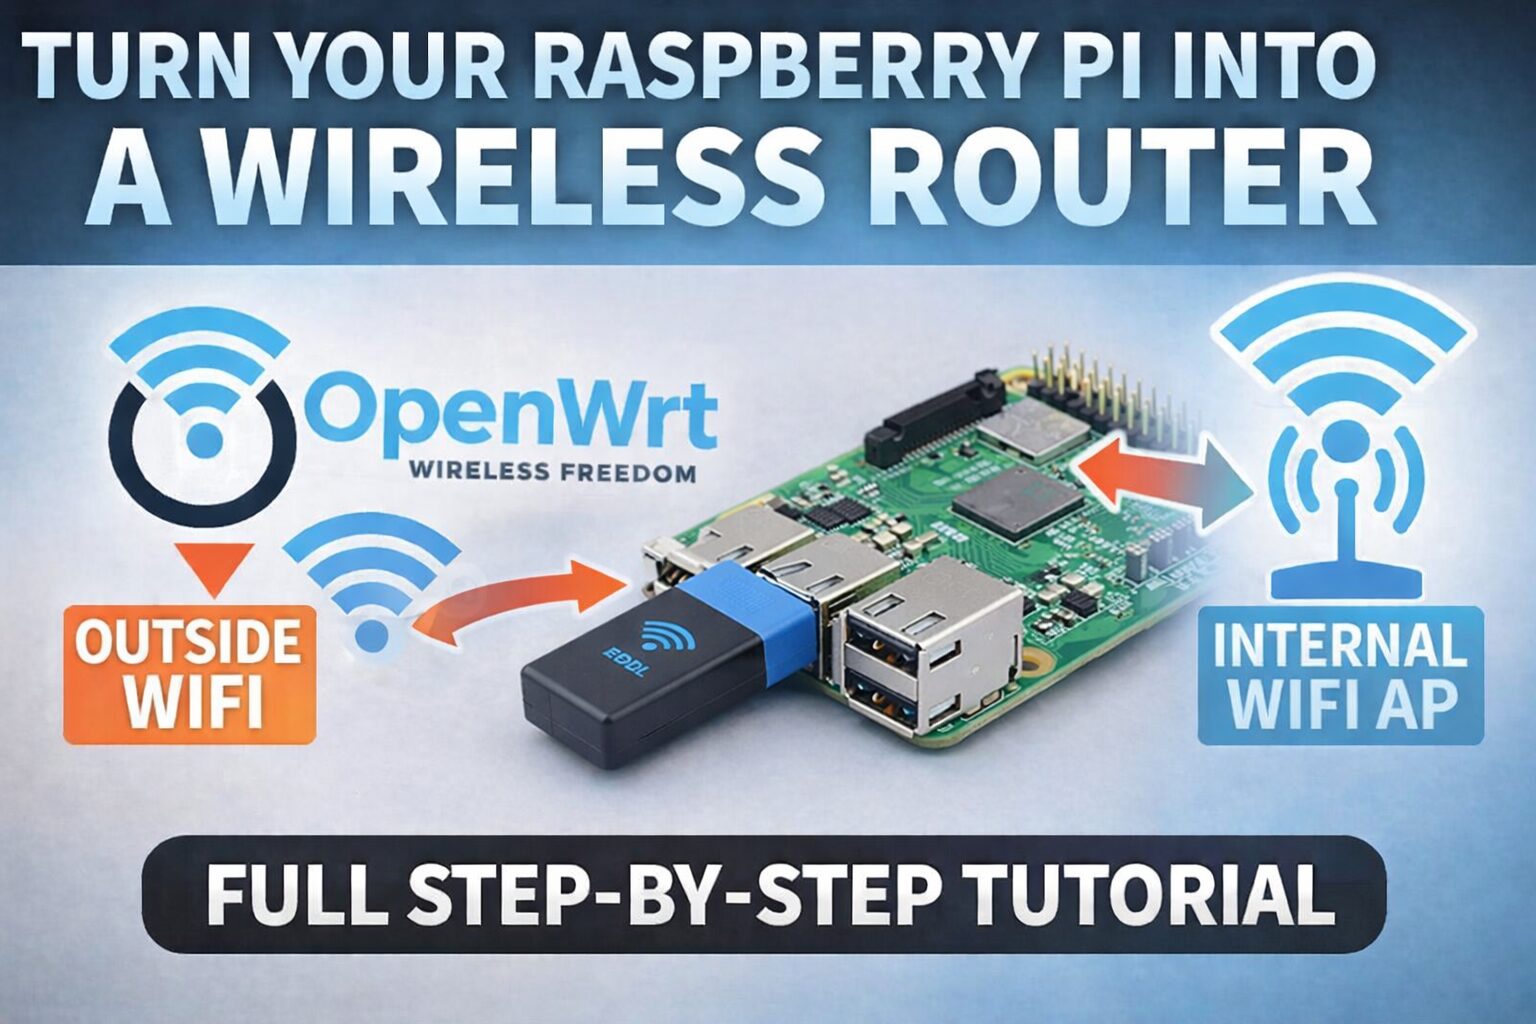
- Internal WiFi (radio0): This will be your Access Point (AP). Your phone and laptop connect here.
- USB WiFi Adapter (radio1): This acts as the Client. It connects to the internet (Hotel/Work WiFi).
Why two radios?
Using a single radio for both receiving and broadcasting cuts your bandwidth in half. Using a dedicated USB adapter for the “Backhaul” ensures your private network remains fast and stable.
Step 0: The “Chicken and Egg” Problem (Internet Access)
Before we can install anything, the Pi needs internet access. But the WiFi adapter doesn’t work yet because we haven’t installed the drivers!
The Solution:
We must temporarily use an Ethernet cable and configure the Pi to “borrow” internet from your home router.
- Connect an Ethernet cable from your Home Router to the Pi.
- SSH into the Pi.
- By default, OpenWrt acts as a Server on the Ethernet port. We need to tell it to use your Home Router as its Gateway to the internet.
Run these commands (Replace 192.168.1.254 with your Home Router’s IP address):
# Point the Pi to your home router for internet
uci set network.lan.gateway='192.168.1.254'
uci set network.lan.dns='8.8.8.8'
uci commit network
/etc/init.d/network restart

# Test connection
ping -c 1 8.8.8.8
Note: We will remove these settings in Step 2 to ensure the Pi acts as an independent router later.
Step 1: Installing Drivers
For this build, I selected the Edimax EW-7811Un V2. It’s tiny, cheap, and perfect for travel. However, it uses the Realtek RTL8188EUS chipset, which is not supported out-of-the-box by the default OpenWrt installation.
Why install specific drivers?
OpenWrt is designed to be lightweight and run on devices with very limited storage. Unlike Windows or macOS, it doesn’t come pre-loaded with gigabytes of drivers for every possible device. You must manually install the specific kernel module (kmod) and firmware for your exact hardware to bridge the gap between the OS and the USB device.
Without kmod-rtl8188eu (the kernel driver) and firmware-rtl8188eu (the device code), the Pi simply won’t know how to talk to the adapter.
How to do it:
SSH into your OpenWrt device and run:
opkg update
opkg install usbutils
lsusb  # Check your device ID (Should see Realtek/Edimax)
# Install drivers specifically for RTL8188EUS
opkg install kmod-rtl8188eu firmware-rtl8188eu
reboot
A Note on Editing Files
OpenWrt uses vi as its text editor, which can be confusing for beginners.
- Open a file:
vi /etc/config/network - Edit mode: Press
ito start typing. - Save & Exit: Press
ESC, then type:wqand hit Enter. - Discard changes: Press
ESC, then type:q!and hit Enter.
Step 2: Solving the “Subnet Conflict” (Crucial)
The Problem:
Most public networks use 192.168.1.x. OpenWrt also defaults to 192.168.1.1. If you connect to a hotel network, your router will get confused about where to send traffic because the “LAN” and “WAN” look identical.
The Fix:
We move our internal AP to a custom subnet: 192.168.10.x.
Edit file: /etc/config/network
We configure three interfaces:
- lan: Ethernet (Management only). We give it a high “metric” (cost) so the router doesn’t try to use it for internet.
- wwan: The USB WiFi. We give it a low metric so it’s the preferred internet source.
- internal_ap: Our new custom subnet.
config interface 'lan'
    option device 'br-lan'
    option proto 'static'
    option ipaddr '192.168.1.1'
    option metric '100'  # High number = Low Priority

config interface 'wwan'
    option proto 'dhcp'
    option metric '10'   # Low number = High Priority (Internet)

config interface 'internal_ap'
    option proto 'static'
    option ipaddr '192.168.10.1'  # No more conflicts!
    option netmask '255.255.255.0'
Step 3: Wireless Configuration & Roaming
Now we configure the radios.
The Secret Sauce: Roaming (bgscan)
If you use this at work or on a campus, you need “Roaming”. Without it, your Pi will cling to the first Access Point it sees, even if you walk to the other side of the building where the signal is dead.
We add bgscan to force the Pi to look for a better signal when the connection gets weak.
Edit file: /etc/config/wireless
# --- RADIO 0: INTERNAL AP (Your Devices Connect Here) ---
config wifi-device 'radio0'
    option type 'mac80211'
    option band '2g'
    option channel '1'
    option country 'US'  # Important for channel visibility

config wifi-iface 'default_radio0'
    option device 'radio0'
    option network 'internal_ap'
    option mode 'ap'
    option ssid 'My_Secure_Travel_Net'
    option encryption 'psk2'
    option key 'SuperSecurePassword'

# --- RADIO 1: USB CLIENT (Connects to Internet) ---
config wifi-device 'radio1'
    option type 'mac80211'
    option band '2g'
    option channel 'auto' # MUST be auto to follow the upstream AP
    option country 'US'

config wifi-iface 'wan_profile'
    option device 'radio1'
    option network 'wwan'
    option mode 'sta'
    option ssid 'Public_Coffee_WiFi'
    option encryption 'psk2'
    option key 'CoffeeShopPassword'
    # Simple Roaming: Scan if signal drops below -70dBm
    option bgscan 'simple:30:-70:300'
Step 4: Firewall Rules (NAT)
We need to tell the router to allow traffic to flow from our private zone (internal_ap) out to the public internet (wwan), but block incoming traffic.
Edit file: /etc/config/firewall
# LAN Zone: Trusted (Your devices)
config zone
    option name 'lan'
    list network 'lan'
    list network 'internal_ap'
    option input 'ACCEPT'
    option output 'ACCEPT'
    option forward 'ACCEPT'

# WAN Zone: Untrusted (The Internet)
config zone
    option name 'wan'
    list network 'wan'
    list network 'wwan'
    option input 'REJECT'
    option output 'ACCEPT'
    option forward 'REJECT'
    option masq '1'  # Enables NAT (Sharing the connection)
    option mtu_fix '1'
Step 5: DHCP (Handing out IPs)
Finally, enable DHCP on your new internal_ap interface so your phone gets an IP address automatically.
Edit file: /etc/config/dhcp
config dhcp 'internal_ap'
    option interface 'internal_ap'
    option start '100'
    option limit '150'
    option leasetime '12h'
Bonus: Switching Profiles via SSH
I have multiple profiles set up (e.g., home_wan and work_wan). Instead of retyping passwords, I keep them both in the config but “disabled”.
When I get to work, I just run this one-liner to swap them:
uci set wireless.home_wan.disabled='1' && \
uci set wireless.work_wan.disabled='0' && \
uci commit wireless && \
wifi reload
Conclusion
You now have a robust, travel-ready router. It avoids IP conflicts, handles roaming gracefully, and keeps your devices secure behind your own firewall. Happy travels!